Do you sometimes think your iPad keeps making too much noise with all those little messages popping up? You’re not alone! Those messages are called push notifications, and they can really mess with your work. They interrupt what you’re doing, take your attention away from important stuff, and sometimes just make you feel stressed.
But don’t worry! There’s a way to make it better. You can learn how to control those notifications on your iPad, so you can focus better and feel more relaxed. This guide will help you figure out how to do it. We’ll cover everything, from turning off the most annoying notifications to making custom settings that fit you best.
- To turn notifications off or on for an app, go to Settings > Notifications, pick the app, and switch Allow Notifications on or off.
- Pick how you want alerts to show up: on the Lock Screen, in the Notification Center, or as Banners.
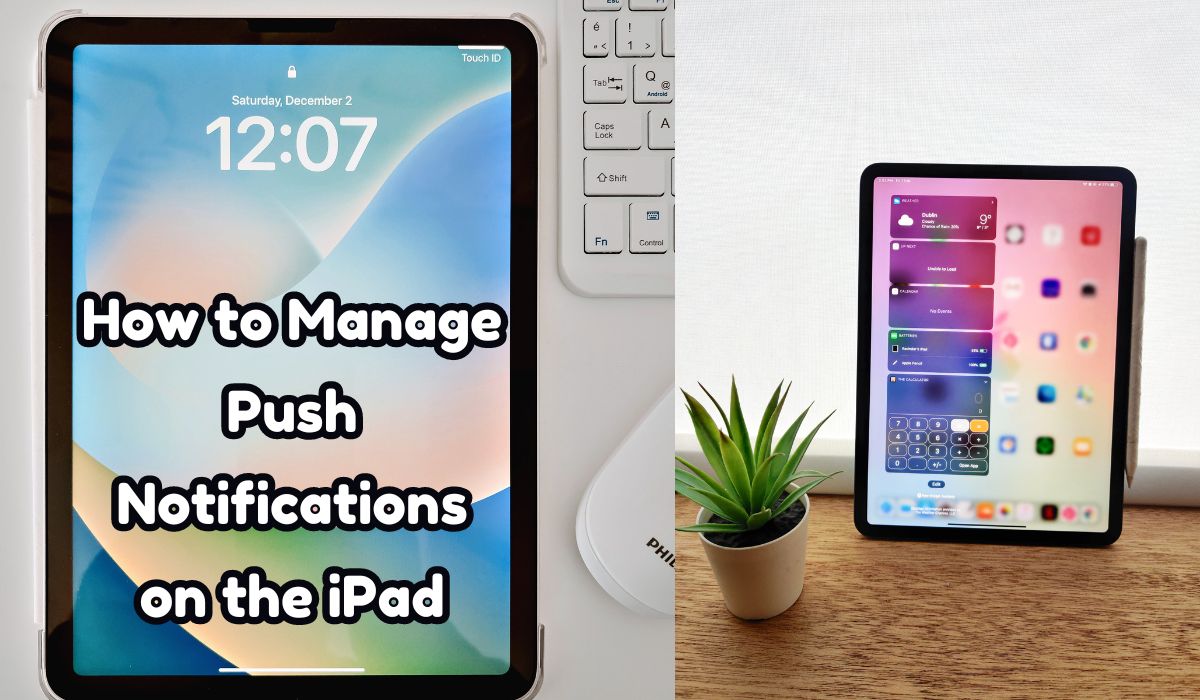
- In the Notification Center, you can clear all by tapping X, see more info by tapping, or manage alerts by swiping left and choosing options like Manage, View, or Clear.
A push notification on your iPad pops up to tell you something’s up, like when you get a message on Facebook or a new email. It saves time because you don’t have to open every app to check. But, it can use up battery power.
Push Notifications: Friend or Foe
Push notifications are like tiny messages that appear on your iPad screen, usually with a sound or a little badge on the app icon. They’re handy for keeping you in the loop about important stuff like updates, news, or messages. For instance, a news app might ping you about a big story, or a social media app might tell you someone commented on your post.
But too many of these notifications can get really annoying. Picture this: you’re trying to finish up a report, and then bam! An email pops up, then a game wants your attention, and finally, a shopping app reminds you about a sale. Suddenly, your focus is all over the place, and what should’ve taken 15 minutes takes an hour.
Here’s the deal: too many notifications can mess up your productivity and stress you out. Plus, they can drain your iPad’s battery because it’s always checking for new alerts.
But here’s the good news: you don’t have to put up with all this chaos. You can take charge of your iPad’s settings and turn these annoying alerts into useful tools. Let’s dive into how you can do that!
Taking Control: Mastering Notifications on Your iPad
Mastering your iPad’s notification settings can bring peace and productivity to your digital world. Let’s break down how you can take control:
Accessing Notification Settings:
To start, open the Settings app on your iPad and tap on Notifications. This is where all the magic happens.
Managing Notifications Per App:
Customization is key. In the Notifications menu, you’ll see a list of your apps. Tap on any app to customize its notifications:
- Allow Notifications: Toggle this off for apps whose notifications you don’t want.
- Alert Style: Choose how you want to be notified – with banners, sounds, badges, or none at all.
- Show Previews: Decide how much info you want to see in notifications.
Notification Grouping:
Got a long list of notifications? Grouping can help. It organizes notifications by app or date, making things easier to manage. To do this, go back to the main Notifications menu and tap on Notification Grouping.
Scheduling Notification Summary:
For a more organized experience, try the Scheduled Notification Summary. This feature gives you a condensed summary of all your notifications at specific times. Instead of constant alerts, you can catch up all at once. To set it up, go back to the main Notifications menu and tap on Scheduled Summary. Turn it on, choose your delivery times, and select which apps to include.
By mastering these tools, you can tailor your iPad’s notifications to fit your needs perfectly. Say goodbye to distractions and hello to a more focused digital life!
Advanced Techniques: Fine-Tuning Your Notification Experience
Now that you’ve got the basics down, let’s dive into some advanced techniques to really fine-tune your notification experience:
Do Not Disturb Mode and Focus:
When you need total peace and quiet, Do Not Disturb mode is your friend. It shuts off all notifications, calls, and alerts so you can focus without interruption. And with Focus modes in iPadOS 15, you can customize your experience even more. Picture a “Work Focus” mode that blocks social media but lets work emails through, or a “Sleep Focus” mode that turns off all alerts entirely.
Using Notification Center Effectively:
Don’t overlook the Notification Center! Swipe down from the top of your screen to see all your notifications in one place. From here, you can clear them all at once, check details on individual notifications, or manage settings for specific apps right from the Center (just swipe left on a notification and tap “Manage”).
App-Specific Notification Settings:
Keep in mind that some apps have their own notification settings within their settings menus. It’s worth exploring these options to see if you can customize notifications even further than what the iPad’s general settings offer.
With these advanced techniques, you can really take control of your notification experience and tailor it to suit your needs perfectly. Enjoy a more focused and peaceful digital life!
Conclusion
By mastering your iPad’s notifications, you’ve opened the door to a more peaceful and productive digital world. It’s all about finding what works best for you. Try out different settings, explore Do Not Disturb and Focus modes, and make the most of the Notification Center for easy management.
The benefits speak for themselves. With fewer distractions, you’ll breeze through tasks with better focus and speed. No more feeling overwhelmed by constant alerts. You’ll be amazed at how much you can accomplish when your notifications are under control. So take charge, customize your settings, and turn your iPad into a tool for productivity and peace of mind. Your focus and productivity will thank you!
Frequently Asked Questions: Managing Push Notifications on iPad
Q: Can I turn off all notifications at once?
A: You can’t shut off all notifications with one switch, but you can use Do Not Disturb mode to silence everything. You can also make a custom Focus mode, like “Silent,” to block all alerts.
Q: How do I stop specific apps from showing notification badges?
A: In an app’s notification settings, turn off the “Badges” option. This stops the app icon from showing numbers for unread messages or updates.
Q: Can I schedule notifications for specific times?
A: You can’t schedule individual notifications, but the Scheduled Notification Summary feature gives you a condensed summary of all your notifications at chosen times during the day.
Q: What if an app doesn’t have notification settings in the iPad Settings menu?
A: Some apps might let you customize notifications within their own settings. Check the app’s settings menu for extra control over alerts.
Q: Will managing notifications save battery life?
A: Yes, cutting down on notifications can help save battery life. Your iPad checks for alerts in the background, so fewer notifications mean less battery drain.